Having set up the reason for this build in Part 1, let’s get right to how it was done! Below is the parts list with links to purchase:
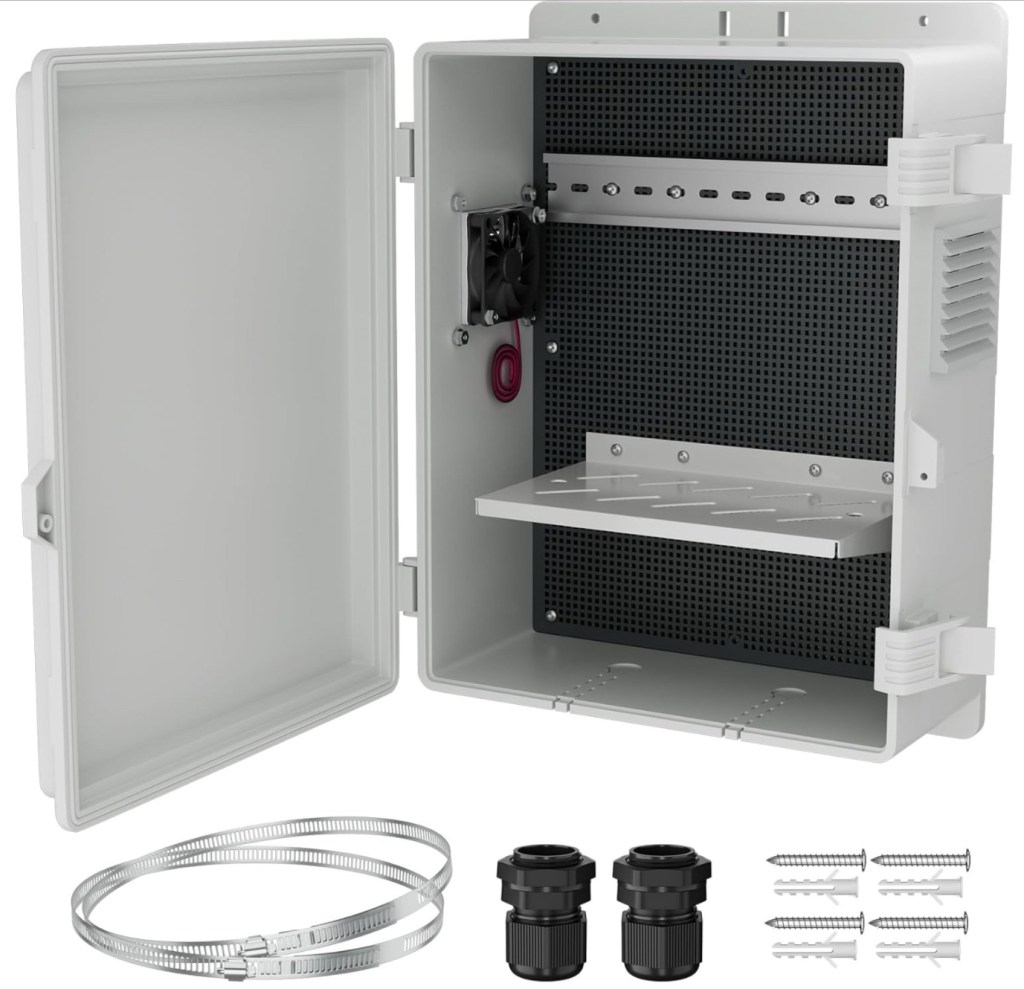
White Outdoor Waterproof Electrical Box
Terminal Block Distribution Module
Temp Control Switch Module with Sensor Probe
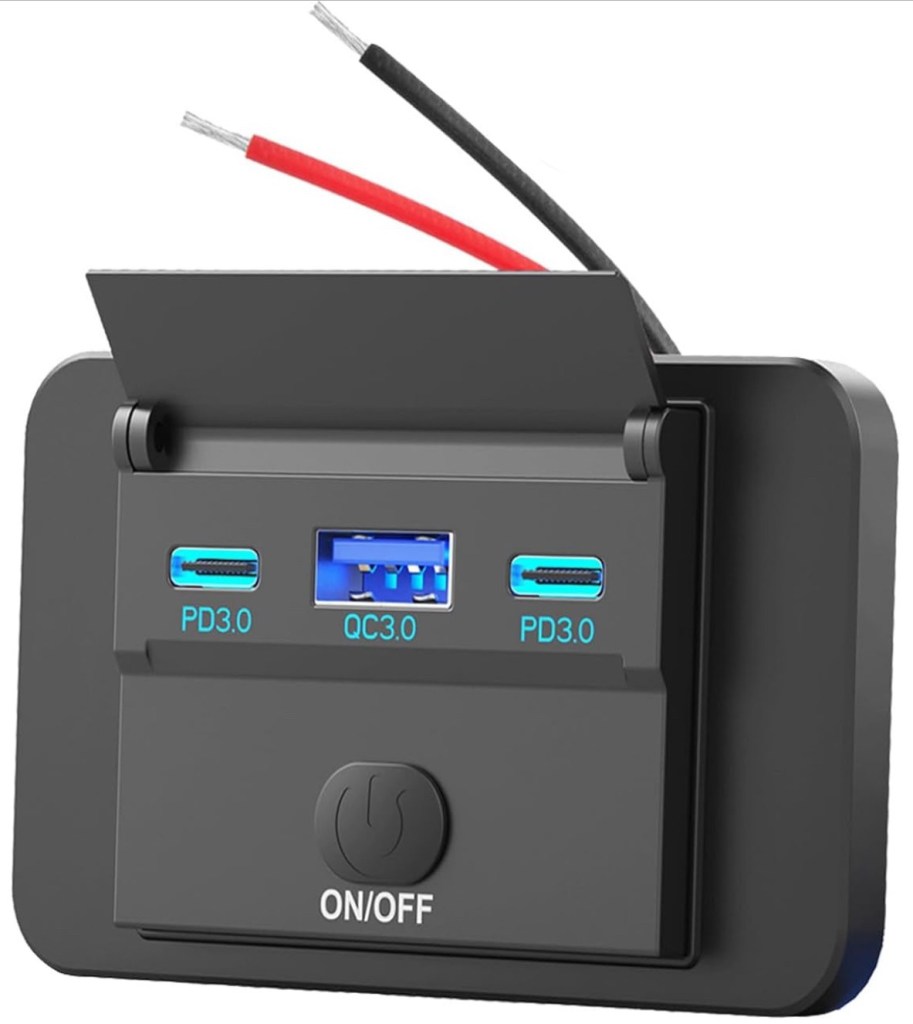
78W 12V USB Outlet Surface Mount
GL.iNet MT2500A (Brume 2) Mini Security Gateway
GL.Inet M2 5G Development Board
Certainly different choices could’ve been made for various parts and not every element is strictly necessary; but this was my build so I did it as I wanted lol.
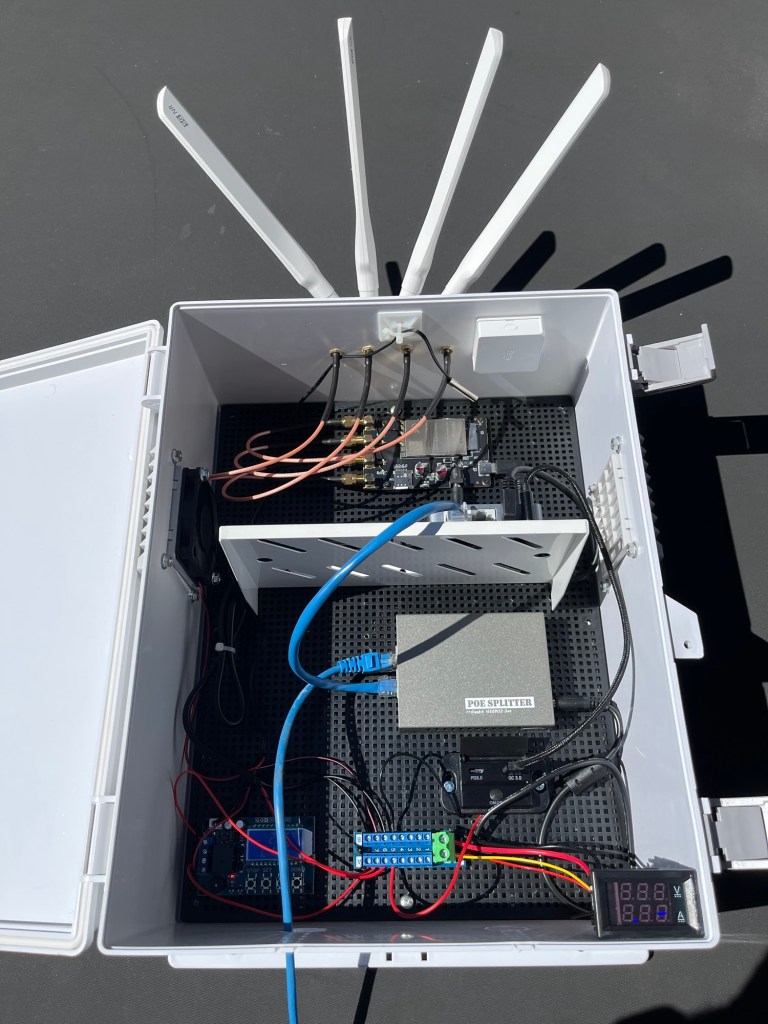
Below is a photo about 30 minutes into the assembly attempt. At this point most items had arrived, but I didn’t quite know what I wanted the finished product to look like. But it was a Sunday afternoon during which I had a rare couple hours of leisure time, and figured ‘why not get started?!’
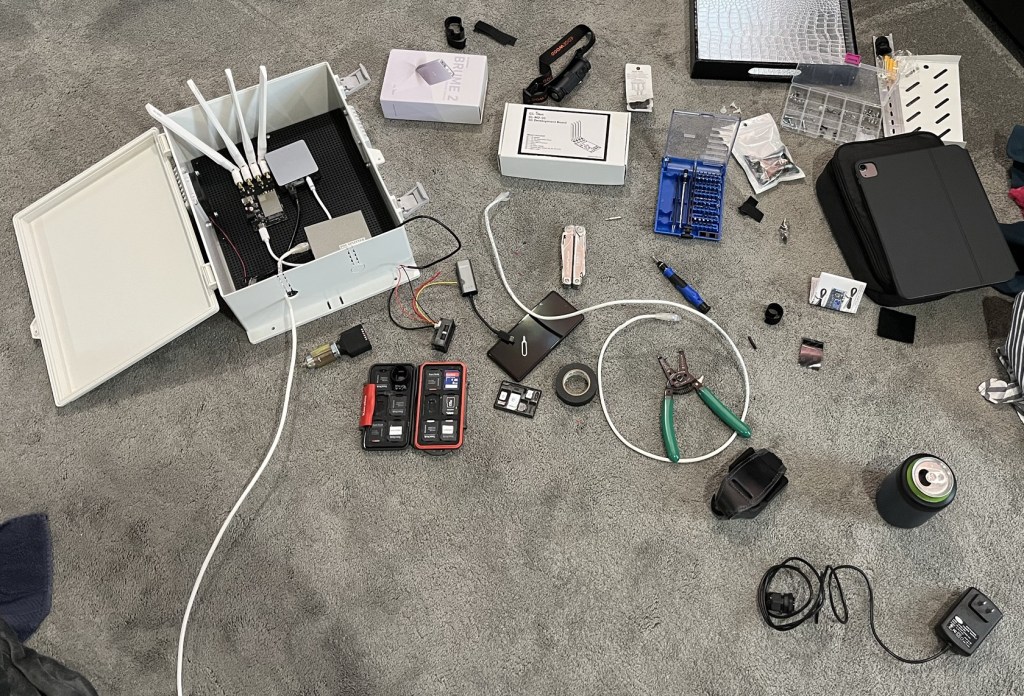
The physical base of the build is this waterproof enclosure with a handy plastic board to which the various items could be anchored. It also comes with a 12-volt circulation fan installed as well as debris-blocking filters in the baffles. The door has a rubber seal, ensuring the interior is protected from the elements when the unit is closed.
Next comes power, and I knew from the start that I wanted to utilize only PoE. I utilized an 802.3at splitter, which we all know provides up to 30 W.
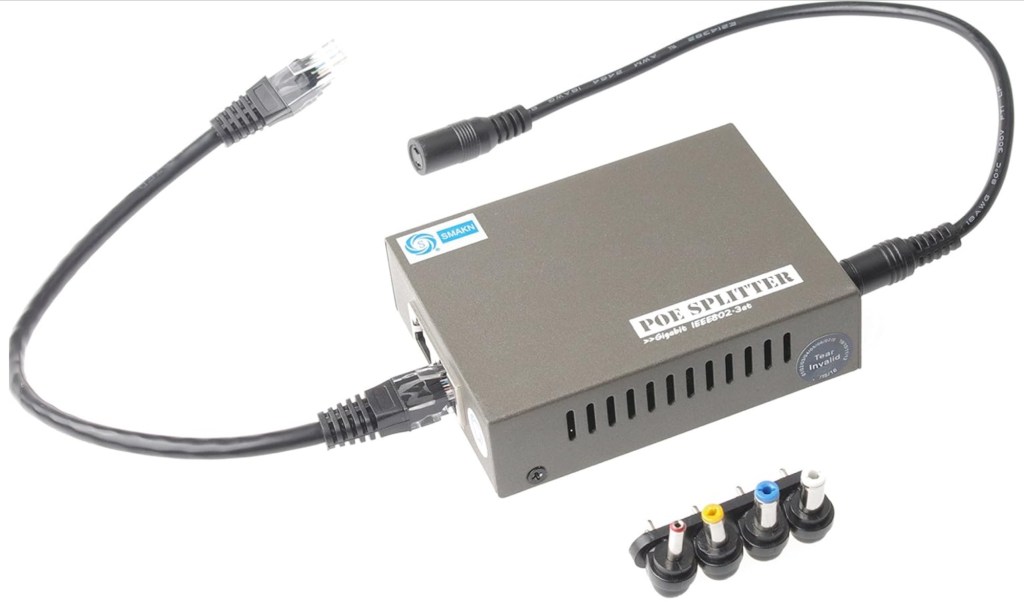
There must be some loss in the ˜75 ft of cabling between the switch and this device, as well as in the conversion from 48 V to 12 V. Still, I figured that at 12 V, I’d safely have up to 2 A (˜24 W) to play with. Rather than mess with temporarily putting an ammeter in line as I brought the various components online, I decided to include a small combination ammeter and voltmeter as part of the build.

During my initial giddy assembly attempt, I handled power distribution crudely, stripping a bit of insulation from the end of each wire and twisting them together: the ground conductors with their negative (-) buddies, and the positives (+) with their fellow red friends.

This badly tweaked my OCD, though, so I found the picture terminal block to more cleanly distribute the 12 V DC power to everything that needed it: the fan, the USB power ports, and the M.2 modem board (more on this last item later).
The GL.iNet router requires 5 V USB power, and my first idea to supply this was by combining an automotive 12 V DC port with a car USB adapter. When I saw how much space that took up and how ugly it looked though, I realized a simpler solution existed: the 12 V USB surface-mount adapter pictured below.
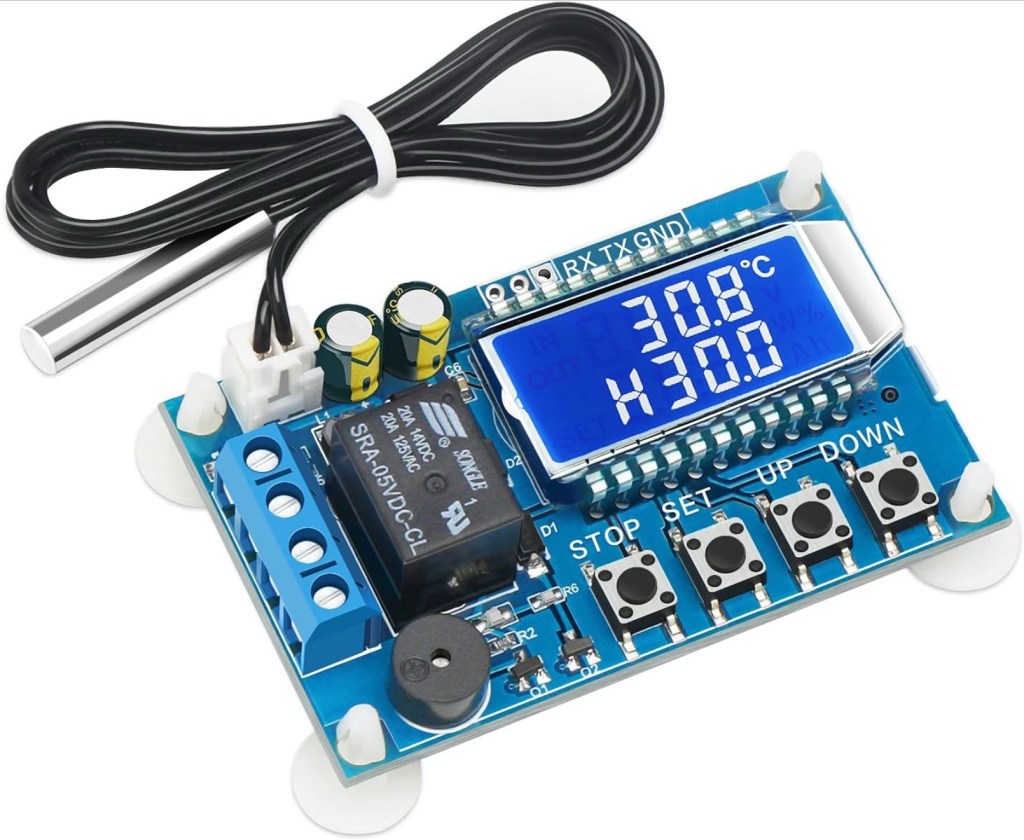
Now heat dissipation. The plastic enclosure is white, and I was planning on installing it in part of my yard where it would be shaded most of the day. Still, Upstate New York summer days can reach temps above 90 F / 32 C, so the built-in fan would need to be connected – but it didn’t seem necessary for it to run constantly. To make the fan run only when needed, I added the below temp control switch module.
Putting everything together yielded the following finished product. As I was writing this, I realized that I never took a photo of the hole drilling, but you get the idea. The SMA female bulkheads on the M.2 carrier board needed to be extended to allow the antennas to be placed outside the box, which was accomplished using these SMA 1 FT Extender cables.
Finally, I picked an install location on my property: the back of the eletrical utility mounting board. It took a fair bit of work to get the CAT 6A outdoor-rated direct-bury cabling from my house out to the install point, but those details go beyond the scope of this blog entry.

As to the pace of work…after the initial enthusiastic spurt of effort, I settled into a pace of a few minutes here and there over the course of a month or so. The project was fun, but had to take a backseat to other priorties like work, time with my wife, activities related to my faith, etc.
I think keeping hobby projects like this in their proper place is what makes them so enjoyable. This build was simultaneously a creative outlet, a way to relax, and a bit of professional development, all while meeting a practical need.
Come back soon for Part 3: Configuration & Failover Testing
